My friend Hannah who has only just recently began sewing (just a few months!!) sent me some photos of a beautiful Rocking Chair make over she recently did in preparation for her nursery. I thought it was just too beautiful not to share!
She had her hubby repaint the chair white & she resewed all the cushion covers....The Rocker also has a gliding foot stool so she cleverly covered this but left the base free so it would still glide when she rocks baby to sleep!
Absolutely loving the mustard yellow & floral theme!
BEFORE
AFTER
She also made this super cute matching Owl! I just love the quirkiness of the design!
Thursday, 12 April 2012
Sunday, 8 April 2012
Winter Woolly Owl
I saw this red knit jumper recently at a vintage shop & thought it would be perfect to turn into a soft winter woolly Owl pillow. After washing & treating the fabric, I fashioned the Owl eyes & beak out of felt & then sewed the old jumper into the shape I wanted for my cushion. Finally I stuffed him & stitched him closed! it's so soft it's the perfect cuddly pillow for your little one.
Thursday, 5 April 2012
Weird & Wonderful Creatures
Working on a few more stuffed toys for my bubs, made again from recycled materials! Check out this weird & wonderful little creature! I love making it up as you go!
Wednesday, 4 April 2012
Recycled Fabric Bunny Softie
There seems to be a huge demand and popularity at the moment for simplistic but beautiful hand made toys. The more basic & the more hand made they look the more popular they seem to be! They remind me of times gone by when these were the only toys that kids used to have.
I've made my own cute Bunny Softie below from 100% recycled materials. All of the fabrics & knits are sourced from a local second hand store, I've washed & treated them so they smell beautiful & fresh again. The great thing about recycled fabrics is they are always softer then brand new.
Little Bunny has a soft pink knitted tummy which used to be a cardigan, the checked ears & legs are made from a men's vintage shirt, the head & arms are made from a pair of girls grey tights.
Let me know what you think?!
*Please be careful using buttons on children's toys, ensure the button is stitched very well & always supervisor your young ones when they play with buttoned toys
I've made my own cute Bunny Softie below from 100% recycled materials. All of the fabrics & knits are sourced from a local second hand store, I've washed & treated them so they smell beautiful & fresh again. The great thing about recycled fabrics is they are always softer then brand new.
Little Bunny has a soft pink knitted tummy which used to be a cardigan, the checked ears & legs are made from a men's vintage shirt, the head & arms are made from a pair of girls grey tights.
Let me know what you think?!
*Please be careful using buttons on children's toys, ensure the button is stitched very well & always supervisor your young ones when they play with buttoned toys
Saturday, 31 March 2012
Baby Animal Silhouette Cushions
In my recent Ottoman post there is a photo of my nursery chair with some cushions on it, I have been asked about the yellow Bambi cushion & yes it's another home project! I really love the idea of baby animal silhouette's, they look really gorgeous in just plain black contrasting with a pretty floral decorative fabric.
I made the yellow Bambi Cushion from scratch and used a print out off Google of a baby deer silhouette to cut my felt out in the shape. I also had a pink patterned cushion I purchased on sale at spotlight for $15 that I customised by adding a baby bunny silhouette. So if you want to cheat & not make a cushion from scratch you could also customise an already bought one very easily by adding the felt silhouette!
Thursday, 29 March 2012
DIY Fabric Ottoman
I recently bought a cheap $25 brown faux leather cube Ottoman from "Sam's Warehouse" with the intent of "sprucing" it up for my baby nursery. Here is the Ottoman's "Make Over" below
Before
I used a cute Orange check Gingham for the top piece & used a Turquoise floral for the sides, I first measured all the sides of my Ottoman and cut pieces to match ensuring I left extra for the seams PLUS quite a few extra inches in length at the bottom for folding the fabric under & stapling it to the base.
I really love orange & turquoise! what a lovely colour combo!
Before
After
I used a cute Orange check Gingham for the top piece & used a Turquoise floral for the sides, I first measured all the sides of my Ottoman and cut pieces to match ensuring I left extra for the seams PLUS quite a few extra inches in length at the bottom for folding the fabric under & stapling it to the base.
I then sewed my turquoise sides together first, and slipped it onto my Ottoman to check if I had sewed the seams in enough, I found it to be a bit loose, so I just ran the seams in a tad more to ensure that snug fit
Then I pinned the square piece for the top, it's a bit tricky in the corners, but try to line the tip of your corner to the corner of the bottom piece, don't worry if there is a few puckers, it seems to turn out ok once you flip it inside out!
After I pinned my top square I did a quick try back on the Ottoman to ensure it was going to fit before I sewed it
Once sewed I pressed all my seams & started to slip it over my Ottoman to see an ugly ducking become a pretty swan!
Lastly we need to turn it over & using a industrial staple gun pull our fabric sides down nice & firm so there are no wrinkles & staple your fabric into the timber frame of the base.
The finished product sitting pretty with my nursery chair!
I added a cute contrasting stitch to the top square before sewing it together.
I really love orange & turquoise! what a lovely colour combo!
Such an easy way to make a beautiful piece of furniture that is functional, unique & doesn't break the bank like alot of Ottomans I've seen on the market.
Would love to hear comments about my Ottoman & if you will give it a try yourself?
Tuesday, 27 March 2012
Adorable Handmade Nappy Covers
Came across this free pattern for Nappy Covers, aren't they just the cutest thing!? You can find the free pattern & instructions on how to make it at "Dana Made It"
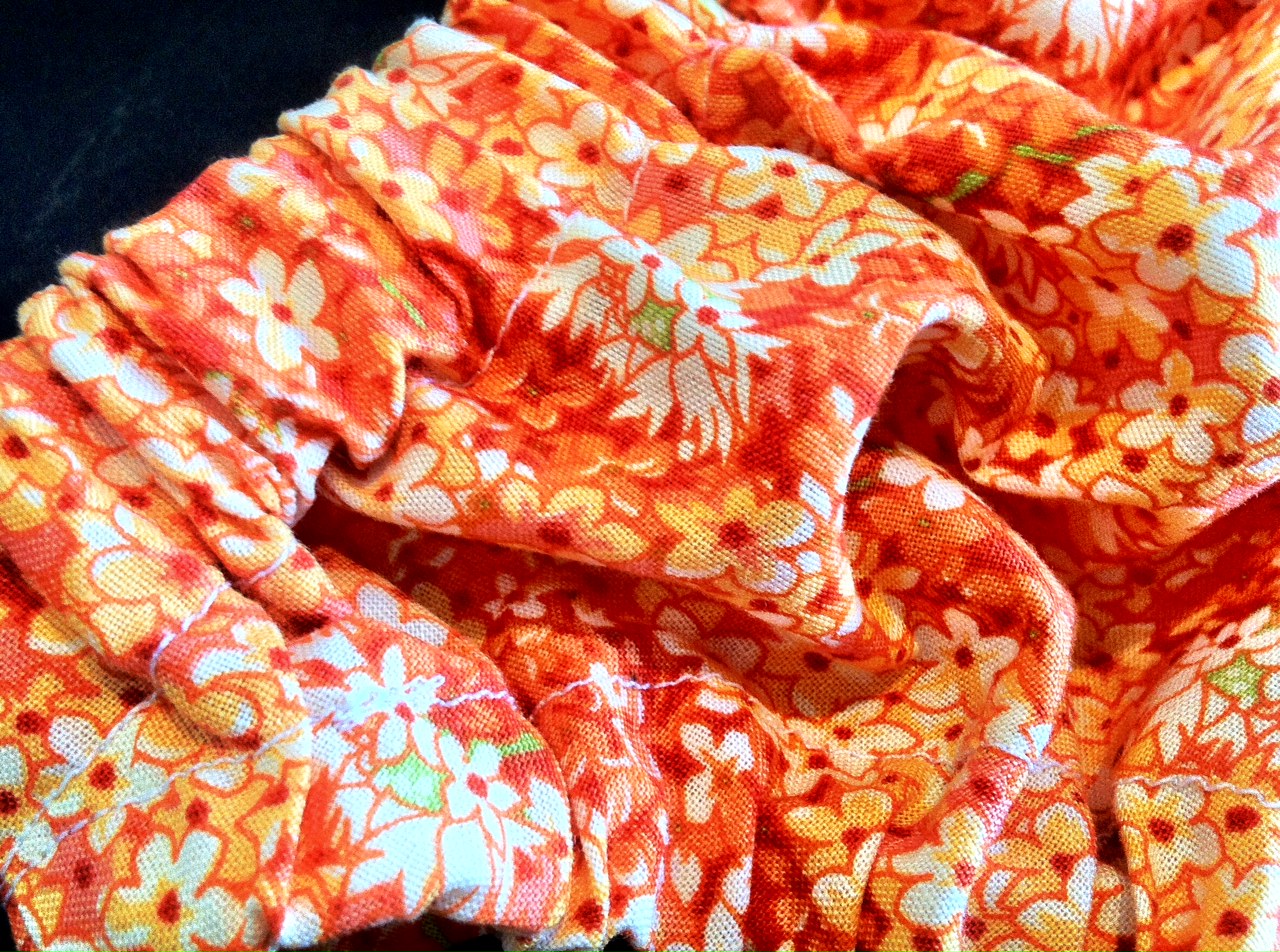
I think they are the perfect remedy for when you want to cover up the not so stylish nappy!
You could spruce them up by adding frills, bows, rick rack...or as you can see on my turquoise pair I appliquéd a heart on the bum! I used just cheap fat quarters for each pair & there was still fabric left over
Let me know what you think & if you will try them yourself??
Here are the ones I made, only took a couple of hours to make a few pairs!
I think they are the perfect remedy for when you want to cover up the not so stylish nappy!
You could spruce them up by adding frills, bows, rick rack...or as you can see on my turquoise pair I appliquéd a heart on the bum! I used just cheap fat quarters for each pair & there was still fabric left over
Let me know what you think & if you will try them yourself??
Here are the ones I made, only took a couple of hours to make a few pairs!
Subscribe to:
Posts (Atom)